
Importing outbound payments#
The Outbound Payment Import API lets you create a batch of outbound payments in a single API call, then have your merchant approve the entire batch through the GoCardless dashboard. This is designed for partner integrations and removes two requirements that apply to individual outbound payments.
- No API request signing — import endpoints do not require request signing
- No per-payment approval — the merchant approves all payments in the batch at once, instead of approving each payment individually
Prerequisites#
Before creating an import, ensure the following are in place:
- Your merchant must be fully onboarded with GoCardless and have Outbound Payments enabled at the merchant level
- The merchant's payment account must be funded with a sufficient balance to cover the total import amount
- Recipient bank accounts must already exist for each payee — see Create a recipient
- The person authorising the import on the dashboard must have a GoCardless Dashboard user account with read-write or admin permissions and SMS-based two-factor authentication enabled
- You must have a valid access token for the merchant — see Making API calls on behalf of your merchant
How it works#
The import workflow has four stages:
Submit all payment entries in a single API call. GoCardless begins validating entries and running bank account holder verification checks.
Poll the API until all entries have been validated and verification checks are complete.
Share the authorisation link with your merchant. They review and approve the batch via the GoCardless dashboard using SMS-based SCA.
Each entry is automatically converted into an outbound payment. Use webhooks to track the status of each payment.
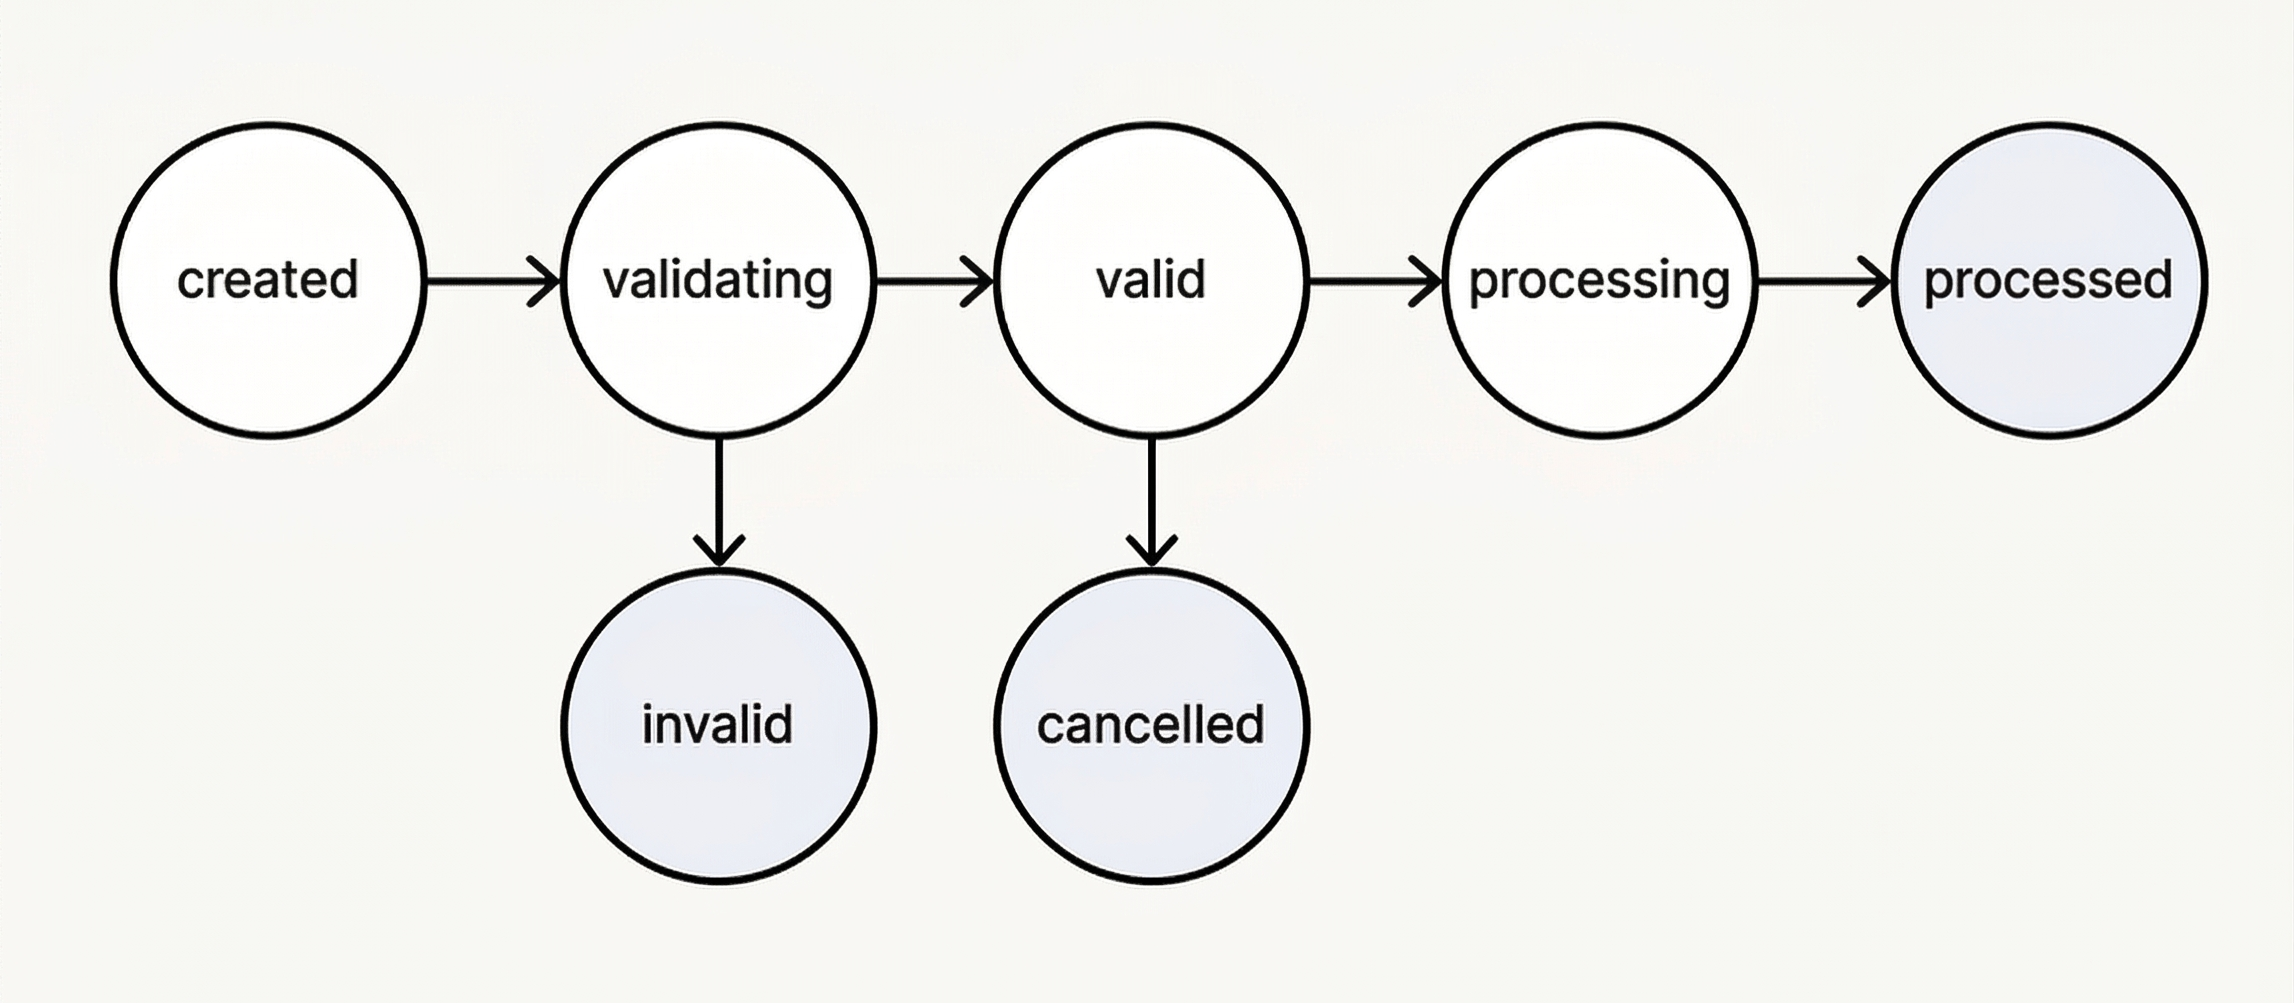
Import statuses#
| Status | Description |
|---|---|
created | The import has been received. |
validating | Entry validation and bank account holder verification are in progress. |
valid | All entries passed validation and verification checks are complete. Ready for approval. |
invalid | One or more entries failed validation. The import cannot be authorised. |
processing | Approval received. Payments are being created. |
processed | All entries have been converted into outbound payments. |
cancelled | The import was cancelled. Unused imports expire after 3 calendar days. Imports abandoned during approval are cancelled within 5 minutes of the approval starting (when we send the SMS). |
Create the import#
Submit a Create an outbound payment import request with an array of payment entries. For information on the entry parameters, please refer to the API reference linked.
The top-level links.creditor field is optional. If omitted, the creditor is inferred from the access token used to make the request. You can set it explicitly when calling on behalf of a specific merchant.
The response includes:
authorisation_url— The link to the GoCardless dashboard where the merchant reviews and authorises the import. Save this URL — you will share it with the merchant in Step 3status— Initiallyvalidatingwhile GoCardless checks each entry and runs bank account holder verificationentry_counts— A summary of validation and verification results, updated as checks complete
Wait for validation#
After creation, GoCardless validates each entry and runs bank account holder verification checks. The import remains in validating status until all checks are complete, then transitions to valid or invalid.
There are no webhook notifications for import status changes. You must poll the API to check when validation completes.
Validation takes about half a minute to a minute.
When validation and verification checks are complete, the response will show the updated status and verification counts:
Bank account holder verification#
Bank account holder verification runs automatically during validation. The entry_counts object on the import provides a summary of results:
| Field | Meaning |
|---|---|
verified | Total number of entries verified. |
verified_with_full_match | The recipient's name fully matches the name on the bank account. |
verified_with_partial_match | The recipient name is a close but not an exact match. |
verified_with_no_match | The recipient's name does not match the name on the bank account. |
verified_with_unable_to_match | The verification could not return a definitive result. This is because the recipient's bank does not support the verification check, or the verification service is unavailable. |
Verification results do not block an import from reaching valid status. Even entries with a no_match result can proceed — the verification results are displayed on the dashboard during authorisation, so the approver can make an informed decision.
You can also retrieve individual verification results by using the List outbound payment import entries endpoint.
Each entry in the response includes a verification_result field with one of: full_match, partial_match, no_match, unable_to_match, or null (if verification has not yet been completed).
For more details, see Bank account holder verification.
Authorise the import#
Once the import reaches valid status, it must be authorised through the GoCardless dashboard. The authorisation_url from the import creation response is a standard web link. You can present it in your application as a redirect or new window, or share it via email or a notification in your platform.
What the approver sees#
When the approver visits the authorisation link, they sign in to the GoCardless dashboard and are taken to the import review pages.
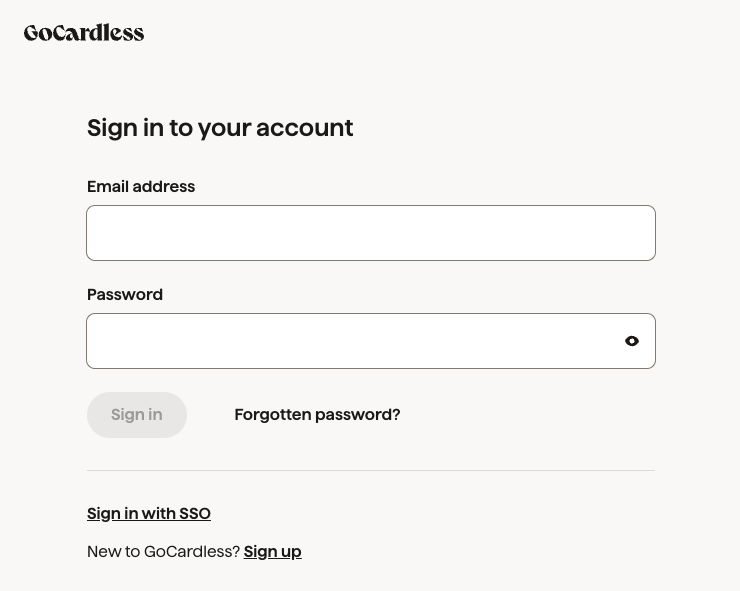
1. Sign in to GoCardless
The approver enters their GoCardless dashboard credentials.
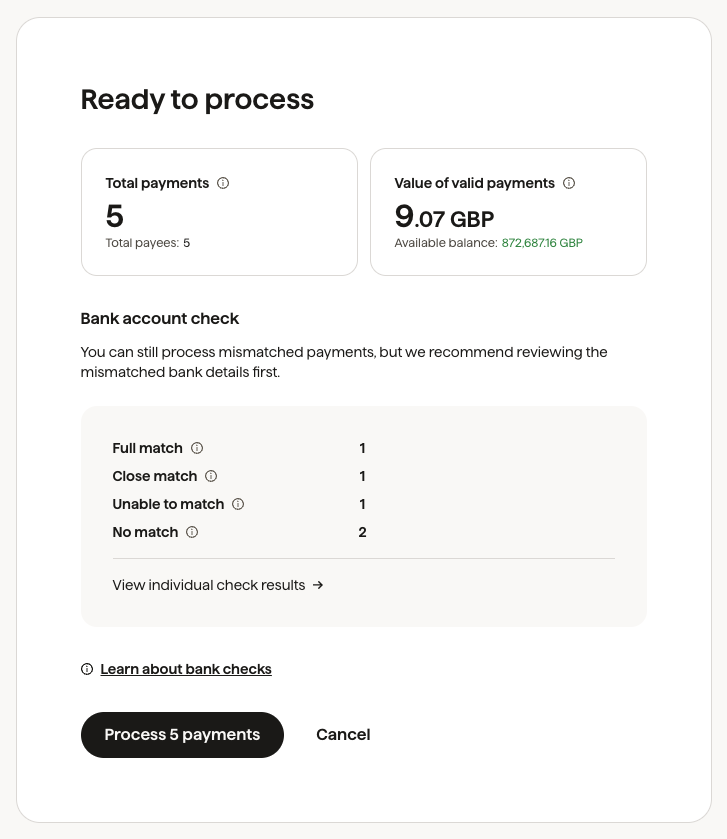
2. Review the import summary
The import process page displays a summary of the import, including the total number of payments, the total value, the available balance on the source payment account, and a breakdown of bank account holder verification results by category.
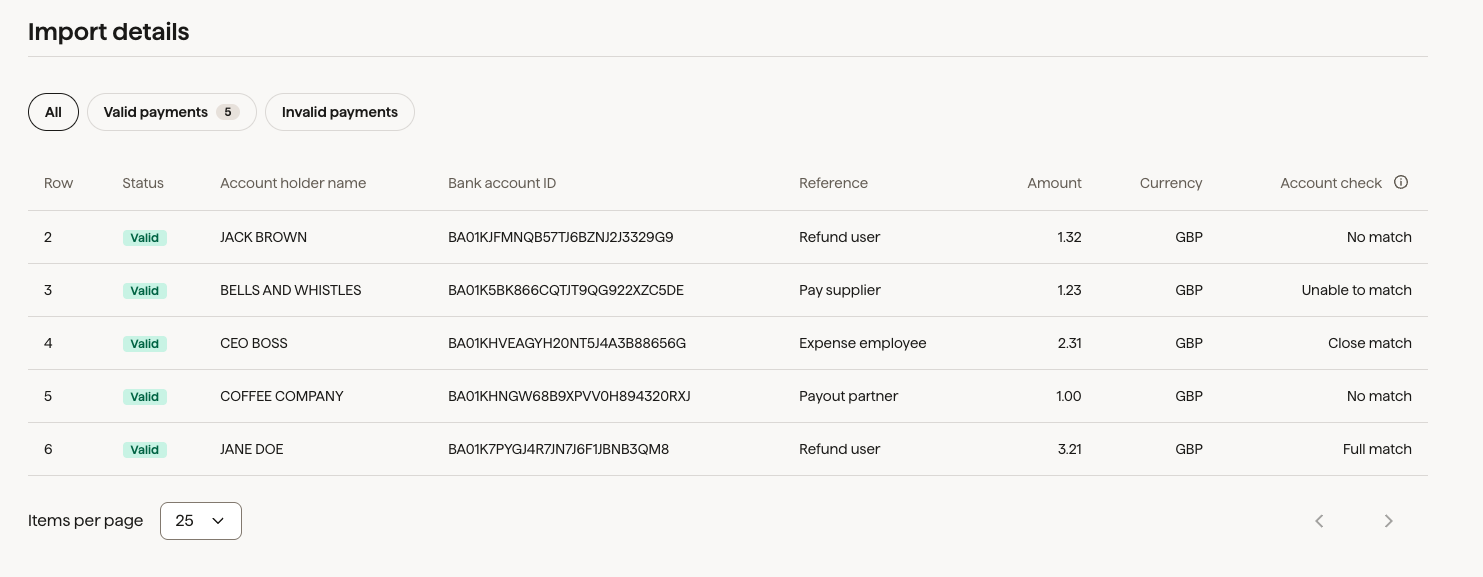
3. Review individual entries
From the summary page, the approver can click through to review individual entries. This page shows a paginated table of all entries with the amount, recipient, reference, and bank account holder verification result for each.
4. Complete SCA and approve
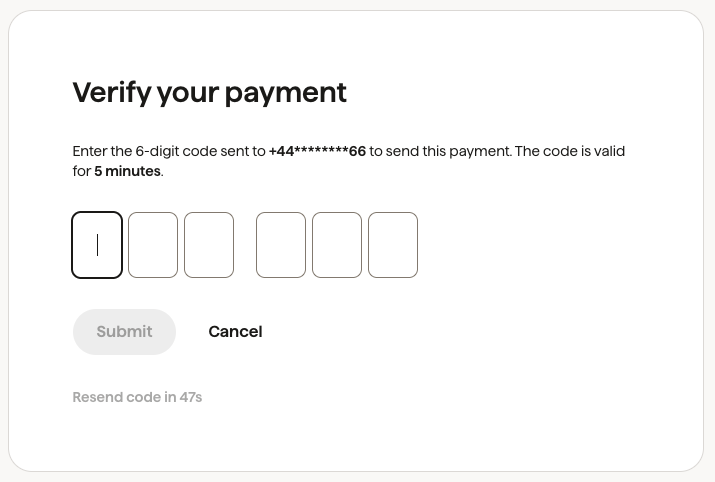
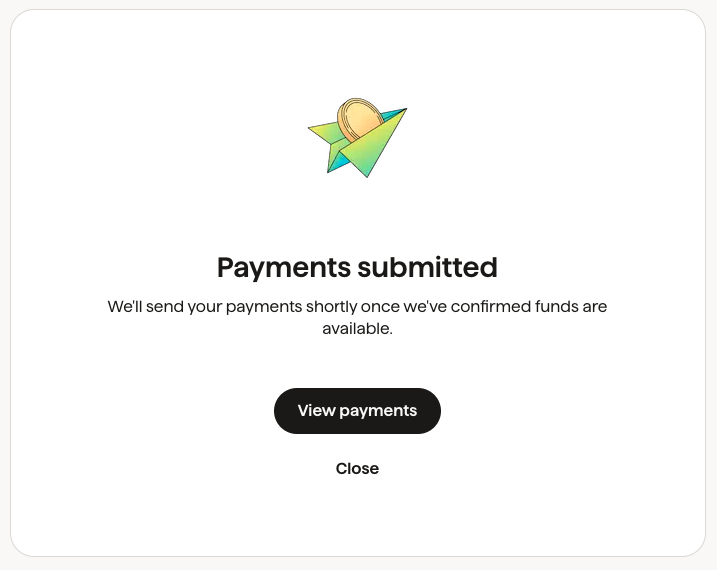
When satisfied, the approver clicks approve. GoCardless sends an SMS code to their registered phone number. Entering the code completes SCA and authorises all payments in the import — they are submitted immediately and do not require separate approval.
Track the result#
After authorisation, the import moves through processing to processed. The import counts will contain processed and failed_to_process, indicating whether all payments were created successfully. To track the progress of the created payments, it is recommended to use webhooks.
Check processing status#
Track the progress of created payments#
Once individual outbound payments are created from an import, they follow the standard outbound payment lifecycle and generate webhook events as their status changes. Each outbound payment includes the ID of the import that created it in links.outbound_payment_import.
Alternatively, list outbound payment import entries using the List outbound payment import entries endpoint. The links.outbound_payment field on each entry contains the ID of the created outbound payment. This ID can be used to track individual payment statuses through the standard outbound payment APIs.
Handling invalid imports#
If any entry fails validation, the entire import transitions to invalid and cannot be authorised. To identify the errors and recover:
- List the import's entries using the List outbound payment import entries endpoint
- Check the
validation_errorsfield on each entry for per-field error details - Fix the issues in your data
- Create a new import with the corrected entries
An entry with validation errors looks like this:
The validation_errors.outbound_payment object contains error messages keyed by field name: amount, scheme, recipient_bank_account, or reference.
Monitoring your imports#
Use the List outbound payment imports endpoint to check status and see whether an import is ready to be approved. Use the List outbound payment import entries endpoint to inspect individual entries, including any validation_errors on an invalid import.
Expiry and cancellation#
Imports in valid status that are not authorised within 3 calendar days of creation are automatically cancelled by the system.
There is no API endpoint to cancel an import. If you need to discard an import, create a new one and let the old one expire.
Once an import is cancelled — whether by expiry or otherwise — it cannot be reactivated. Create a new import instead.